

Add Trim to Your Walls
Covering cracks and trimming corners.
Finally finished painting and noticed just how unsteady your hands were when cutting in along the ceiling? Maybe it’s not the unappealing view where your walls meet the ceiling, but rather it’s the cracks in your corners causing your angst. If you’re feeling a little rough around the edges, it’s time to trim it up!
Flexible Wall Trim Molding
InstaTrim is a flexible, peel and stick trim solution that can cover your cracks and hide paint smears and it comes in multiple colors. It’s the perfect solution for messy paint lines on contrasting wall or ceiling corners. And, you can quickly repair cracked wall corners without drywall mud, plaster or messy sanding.
InstaTrim leaves a smooth radius corner with no cure or dry-time and it’s instantly paintable. With patented, self-centering wings, InstaTrim assures uniform positioning on any surface. The odorless adhesive remains intact with no curing time necessary and its long-lasting professional finish is durable and low maintenance.
You got it, InstaTrim is saving you money, time, and your eyes from offensive ugly wall and ceiling edges!
Corner Trim Made Easier
What would you say if a handyman told you in order to make the corners of your house’s rooms look high-end and polished, you’d need an electric saw and a nail gun? Probably “how much will it cost for you to do it so I don’t have to”, right?
Well, doing corner trim now has become much easier! When installing the universal trim solution along the edges between walls and ceilings, we recommend using the ½” flexible trim. In order to install it in corners, it won’t take much more than scissors or a razor blade! No large pieces of equipment or fancy nail guns!
- Simply peel back the liner and hold the end of the strip with the adhesive side facing the corner.
- Line up the first 2-3 feet of the strip and press into place every 4-6 inches.
- Repeat with the next 2-3 feet until complete.
- Trim the finished end of the strip using scissors or a razor blade. (Tip: adding 1/8” will ensure a tight fit.)
- When the entire area is covered, firmly press the strip into the corner again, and run your finger along the strip to ensure the strip is bonded to the surface.
No sawdust. No saws. No nails. No nail guns. Just you, a sharp cutting tool, and IntsaTrim! Well, maybe a measuring tape, and our applicator tool so you can avoid finger fatigue for large jobs.
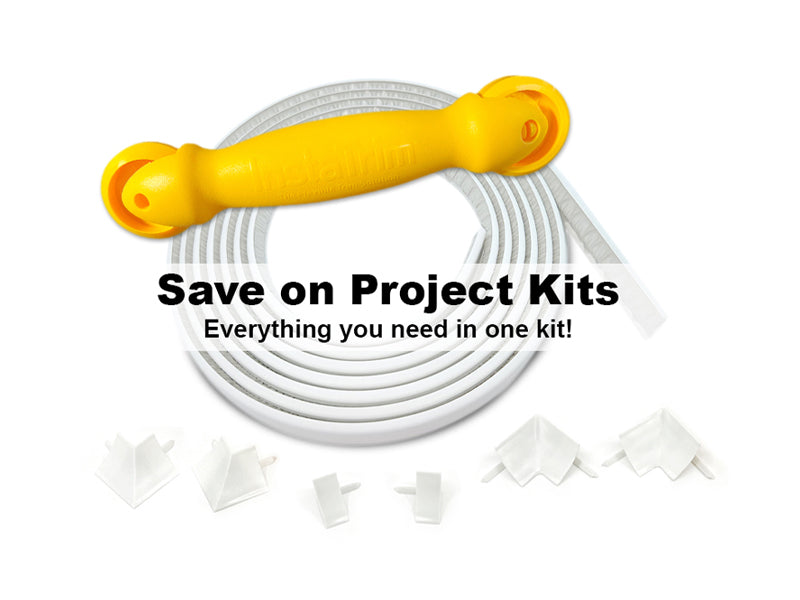
Corner Trim with ¾” InstaTrim
Installing ¾” InstaTrim around windows, doors, or along baseboards? You can use the simple instructions we recommend for the ½” universal trim solution OR you can buy our new paintable Corner and End Caps for an even easier installation.
Finish Your Rooms in Style
Never let a less-than-perfect paint job get you down! There’re plenty of ways to hide a few smudges, and slip-ups. Painting is tedious and tiring, so mistakes are bound to happen. Don’t worry so much about being perfect when cutting in along ceilings, corners and baseboards. There’s a simple way to hide the small mishaps, so it looks like a professional came through your home and did it all for you. InstaTrim provides do it yourselfers peace of mind when tackling big paint jobs around the house.


