

How to Trim Windows with InstaTrim
We all want a home we feel safe and comfortable living in. If we start seeing mold, or little annoying critters all over the house, or feel drafts during cold temperatures it means our windows are letting us down and we need to fix drafty windows.
Wait. We take that back. Let’s not give our windows a bad reputation! It’s really the caulk around them that’s letting all of us down. Windows are just doing their job, hanging out and letting the sunlight shine into our homes. All they can do is rely on the weatherproofing we homeowners chose to use trim windows.
Importance of Trimming Windows
Why is it important to properly trim windows? Let’s take you back … back to when you were house hunting and finally found the perfect place to hang your hat. Remember when you finally bought your home and everyone went on and on about windows and doors? You were told to make sure the windows were good quality and weatherproofed, and your doors better not have a draft, or you’d be paying top dollar for your heating and cooling bills.
All true. However, what no one told you was how dreadful caulking around windows and doors was and that you would have to replace all that caulking often. Why? Because caulking dries, cracks, breaks off and it also becomes discolored! Depending on where you live, it can be a yearly project each spring when doing spring cleaning and the yard clean-up.
Wouldn’t it be amazing if you could do this important task once, and not have to worry about it until you move and have to replace caulk in another new house? We thought so!
Install the Right Window Trim
We’re going to keep it real here and now: installing InstaTrim is easy. However, the prep work before installing it can take a little time and effort, but it still isn’t as time consuming and messy as using caulk to trim your windows.
Remove Caulk
The first step whenever making the switch from silicone-based caulking to InstaTrim: remove each and every bit of caulk. Scrape that stuff off of the surface, leave none of it behind.
Clean Off
Residue Silicone is unique in that nothing will stick to it, including InstaTrim. If silicone is left on any surface, InstaTrim may adhere at first, but it’ll pop off quickly. We don’t want that happening, so after removing the caulking, make sure to clean off all the gross residue silicone caulking leaves behind.
You can clean off the residue using a silicone sealant remover, or acetone, and a cloth. If you don’t want to use acetone, grab some white vinegar or isopropyl alcohol, and leave it sitting on the residue until it gets soft and will wipe off with a scrubbing pad or soft brush. It might require a little scrubbing, but remember, you do this once and the hard work will be over quickly!
Install InstaTrim
Now that you’ve done the prep work - just peel the backing off of the adhesive on your flexible trim, press InstaTrim into place evenly applying pressure (do not stretch) and stand back to admire your work! Could it get any easier?
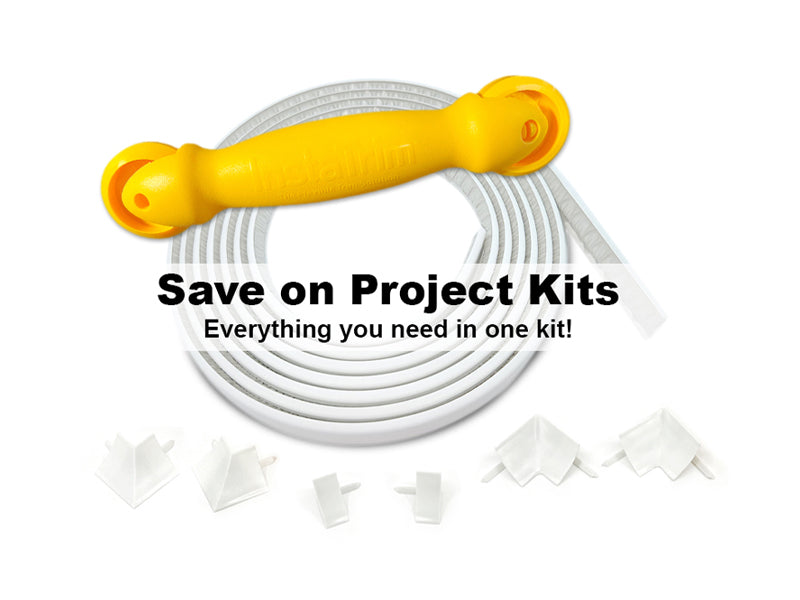
Actually, yes! We created an applicator tool to help you evenly distribute the pressure needed to properly install InstaTrim. Our customers are to thank for this product. Without their request, we wouldn’t have known they needed a little something special.
Save Time and Money
Trimming your windows with the right product will save you time, and be a true safeguard against high electric bills. Air will circulate better without horrible drafty windows mucking the whole process up, and all your “bought air” will stay inside your home keeping you toasty warm in the winter, and cool as a cucumber in the summers.


