

Dos and Don’ts of Using InstaTrim
Installing InstaTrim® is much easier, and less messy, than working with caulk. However, it’s important to understand there’s definitely things customers need to do, and need not to do, to make sure the flexible trim strips adhere to surfaces properly. With successful application, your flexible trim strips will last for many years.
What to DO When Installing InstaTrim®
InstaTrim® is an adhesive product, which is easier to use than caulk and silicone. However, it does require proper preparation and application in order for it to adhere properly to the surfaces in your bathroom, kitchen, living room, outdoor spaces, and any other rooms you wish to fill in gaps and cracks. Keep the following in mind with your InstaTrim® installation.
Prep the Area Properly
Remove Caulk, Remove Silicone, Remove Loose Grout and Textured Surfaces (like popcorn ceilings)
Removing the old caulk, silicone and loose grout is the first step in the prep process. It’s important to clean off any residue left behind after removing anything silicone-based. The reason? Absolutely nothing sticks to silicone except more silicone. It’s kind of like plastic wrap when you’re trying to put away leftovers. Just sticks to itself, and none of the containers the food is in. Frustrating for everyone involved.
In order to create a premium application surface, once you’ve removed the caulk, silicone and grout - fling open a window for fresh air and then wipe down the application area with acetone, or Isopropyl Alcohol (also known as Rubbing Alcohol). Once it’s wiped down, let the surface dry in order for the adhesive to bond properly to the application surface.
When installing the flexible trim to a ceiling with a textured surface, make sure the surface is smooth in order for the adhesive to properly bond to the ceiling.
Thoroughly Clean the Surface Area
Ever attempt to hang something with a piece of tape? You know you need a clean surface free of dust, dirt, pet hair, grease, etc. or the tape just falls off. It’s the same with installing InstaTrim®.
If you try applying the flexible trim on an unclean surface, all that dirt and grime ends up on the sticky part of the trim. All that grossness creates a barrier between the actual surface you want your InstaTrim® to stick to, and the adhesive.
Grab a little mild soap and a damp cloth, making sure none of your chosen cleaners are citrus-based, mineral-based, oil-based, wax-based, or silicone-based.
Do a Test Run
After the application surface has been cleaned of debris, and residue, and once it’s dry, give it a test run! Take a small piece of the flexible strip and apply it to your intended surface. If it sticks, then you know you’re ready. If it doesn’t stick, more than likely, there’s still silicone residue on the surface, so fling that window open again and break out the acetone or Isopropyl Alcohol for another wipe down.
Apply Proper Pressure
InstaTrim®’s adhesive is pressure-sensitive with a putty-like consistency. The beauty of the product is that it doesn’t dry out, and moves with expansion and contraction. During the application process, firm pressure is needed in order for it to latch onto the application surface, spread a bit and then maintain good adhesion.
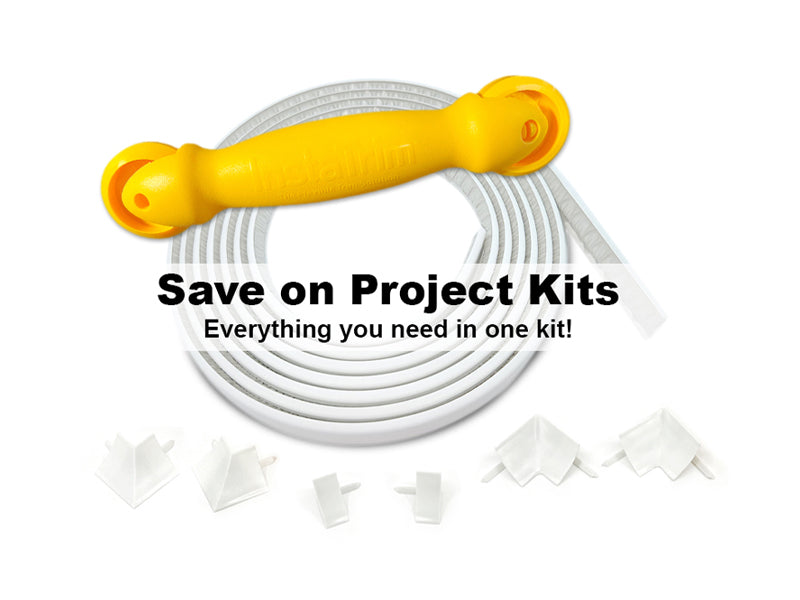
Using our new applicator tool helps the adhesive maintain the even pressure necessary for creating the desired results that will last for many years. It’s especially helpful to use the applicator tool when applying InstaTrim® to your ceiling. The applicator will help push the adhesive into the corner providing enough pressure to hold up against gravity on the ¾’ wide flexible trim.
Heat It Up
You’re following all the instructions, and have taken all the tips above to heart, however now you’ve hit a tough spot. Your surface area has a curve in it that’s super tight, and your flexible trim is bunching up. What now?????
Heat it up! Break out your hair dryer and apply heat so the trim softens the PVC so it curves easier, and also makes the adhesive softer and more sticky. You definitely can’t do that with wood trim!
What NOT TO DO When Installing InstaTrim®
It’s a three step process to install InstaTrim® The Flexible Trim Solution. It’s peel, press, perfect. As you saw above, there’s a few prep steps to take before the three step installation process. All things considered, it’s a fairly easy DIY process that results in a high quality result.
However, there are a couple of things to avoid when peeling, and sticking, in order for it to hit that perfect step.
Never STRETCH Our Flexible Trim Strips
You never need to tug and pull so the trim strips stretch. InstaTrim® is made to expand and contract, so if you stretch it during the installation process, it’ll contract and shift after it sits for a bit.
It truly is peel and press, using an even amount of pressure while pressing. That’s how you get to perfect!
Don’t Order the Wrong Size Flexible Trim Strips
Always measure the gaps and cracks before placing your order for your odorless adhesive InstaTrim® strips. If you have a ¼” wide gap or crack, you’ll want to order one of our ½” wide trim products. Want to cover a ⅜” gap or crack? You’ll need one of our ¾” trim products.
When applying InstaTrim® to your ceiling, it’s important to use only ½” for corners, and ¾” for the ceiling itself. Size does matter!
Keeping It Simple for DIY Enthusiasts
DIY enthusiasts appreciate quick solutions for time-consuming projects. Replacing old, discolored caulk and silicone in your home is extremely inconvenient and time-consuming. If it can be done in less time, and with a product that doesn’t smell toxic or require curing times, why not give InstaTrim® a try!
Choose your perfect trim, and order it today, along with an applicator tool, for the easiest install with our extensive DOs and DON’Ts list.


