

4 Easy Steps for Covering Bathroom Cracks
Keeping a bathroom clean is the world’s most thankless chore for a homeowner - especially when you have kids. Doesn’t matter what age the kids are, they’re messy and gross and rarely clean. One of the worst areas? Any guesses? THE TOILET BOWL. More specifically the caulk around the toilet where it meets the floor. It collects all the nasty.
Tired of all of the hours trying to keep it clean and looking pretty? We feel you. One way to take back your time, energy, and stop gagging at the unsightly and discolored caulk: InstaTrim, The Original Flexible Trim! And if you’re putting it around your toilet and floor seam, might as well replace the caulk around your sinks, bathtubs, and showers!
How to Easily Apply The Original Flexible Trim in 4 Steps
InstaTrim is moisture resistant, easy to apply and easy to clean. The patented, self-centering wings assure uniform positioning on any surface. And unlike caulk, there is no mess or toxic fumes. Installation is easy. Simply follow these four easy steps:
Remove Existing Caulk and Grout
It is important to clean the application area thoroughly. Use a knife or blade to cut away any existing caulk or grout and remove any loose debris from the area.
Clean Surfaces Thoroughly
If you have old silicone already on the application area, you will need to thoroughly remove all traces of silicone in order for InstaTrim to adhere properly.
We recommend a product called McKanica Silicone Remover or Acetone. Apply liberally to a lint-free cloth, wipe the area vigorously. Use a wire brush to help with the removal of stubborn caulk or grout.
Apply InstaTrim
Begin the application in an area that is hidden from sight.
- Peel the liner off of the back of the strip and begin to press the strip into the crack, with the adhesive side against the crack.
- Continue to press InstaTrim straight into the crack along the area to be covered. Be careful not to stretch the strip as you go.
- Once the entire length is covered, firmly press the strip into the crack again and run your finger along the strip to ensure adhesion to the surface. Or use our applicator tool to make sure you apply pressure evenly for a long-lasting seal.
Finish the Seams
Corners and splices are easy to master as long as you follow our guide. The basics:
- Cut the ends of the first piece applied and the next piece at opposite 45-degree angles in order to form a tight, overlapping seam.
- Apply a small drop of permanent adhesive glue to the end of the strip where the two ends will meet to seal the angled ends together where there is no adhesive.
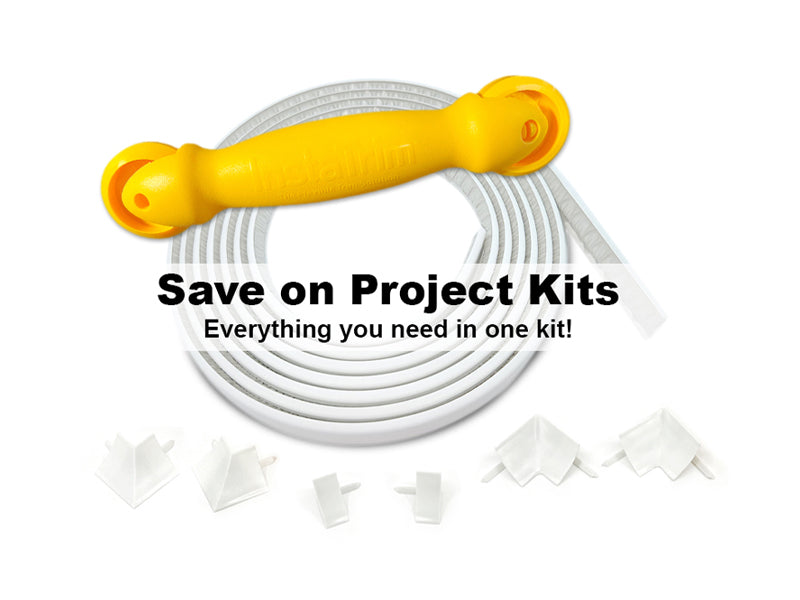
- Working with the ¾” InstaTrim? Consider using our Corner and End Caps and make installation even easier!
Bathroom Updates Are Easy with a Caulk Alternative
Caulk. It’s a hassle to use and is an absolute chore to clean and maintain, making it something that needs to be replaced far too often. It’s time to do bathroom updates with InstaTrim, The Original Flexible Trim, available in multiple colors and two sizes.
Voila! It’s caulking made easy!


