

Replace Old Caulk with Flexible Moulding Strips
If you have old, unsightly caulk in your home, you likely want to remove and replace it. It doesn't matter if you want to replace bathroom caulk or need to remove caulk strip adhesive from your kitchen. We have some tips for removing old caulk from your tub, sink, or shower.
Basic Caulk Information
In your home, you may be looking at acrylic, latex, urethane or silicone caulk. Silicone is the most common and is usually white or clear and has a rubbery feel to it. However, when you remove silicone, it leaves an oily residue and will only adhere to another layer of silicone caulk unless you use acetone to remove the oil. Generally speaking, removing caulk like a pro isn't hard but without the proper prep work, it can be tedious and time consuming.
Steps for Removing Old Silicone or Caulk
Ready to learn how to remove silicone or caulk from a tub, toilet, or sink? We'll guide you through it with these steps:
- Find a good quality sharp razor blade (use a holder, it'll help)
- Gently cut against the surface with the razor blade - go slowly and cut along the surfaces the caulk is attached to
- Fully remove the old caulk or silicone with a razor blade
- Remove any debris with a dry cloth or paper towel, then do it again with a wet cloth or paper towel
- With a cotton swab, carefully apply acetone (make sure you have good ventilation!)
- Rub the area with a deep surface cleaning pad, making sure to remove all remnants of silicone
- Thoroughly dry the area or let it air dry
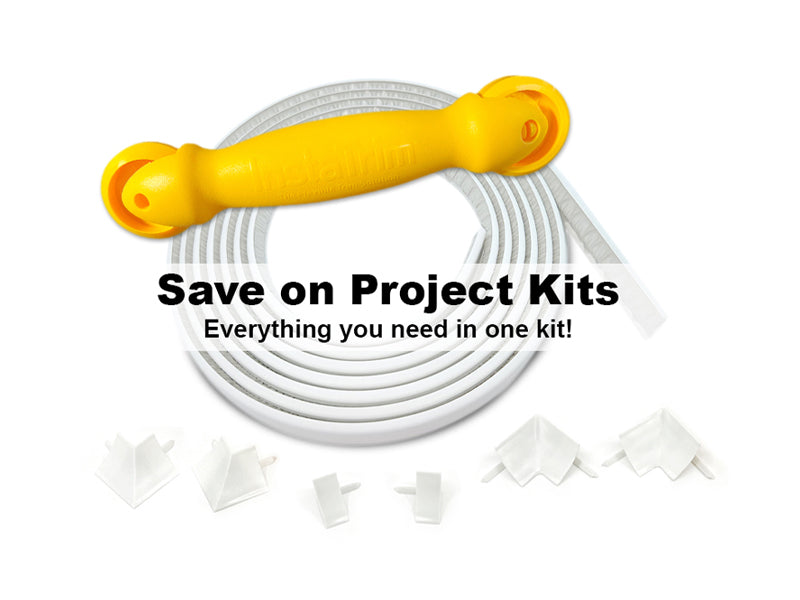
Once you remove the caulk, it's time to replace it with something. You could reapply new caulk or you could try InstaTrim flexible trim moulding strips. Don't let the name decieve you, our trim strips work better than any caulk strip you'll find on the market. And installing InstaTrim is easier than reapplying caulk or silicone. Plus, it's mess-free.
Steps for Installing InstaTrim
- Peel the backing off the trim strip
- Always start in the corners and work outwards!
- Place the trim strip along the gap and press it into place
- If the strip starts going crooked, peel it back and reapply
- Try not to stretch the trim strip as you install, or the ends will shrink
- Once the InstaTrim is in place, run your finger across the entire strip to make sure it’s tight.
It’s a peel, press, perfect installation, and with InstaTrim, there is no cure time, drying time, or annoying odor.


