

Make it Stick!
The importance of removing silicone prior to installing InstaTrim®
Covering your cracks to keep mold and mildew, dust and debris out of the crevices of your home is important, but it’s useless if you can’t make the trim product stick! So, take the time to prep your surfaces before applying adhesives, such as caulk or the universal trim solution, InstaTrim®.The silicone caulk that you will encounter in your home is a flexible, heat resistant, rubber-like plastic and because of its make-up, it rejects adhesives. Have you ever owned a Teflon® pan? If you have, you know that it’s non-stick. Think of silicone in this way.
Now that you know that all silicone needs to be removed in preparation for installing a new trim solution, here’s some information on how to do it:
- Use a sharp blade, cut away and remove all existing silicone caulk
- Use a wire brush to remove stubborn silicone, oils and residue
- Thoroughly wipe the surface with acetone to remove any remaining residue left on the surface
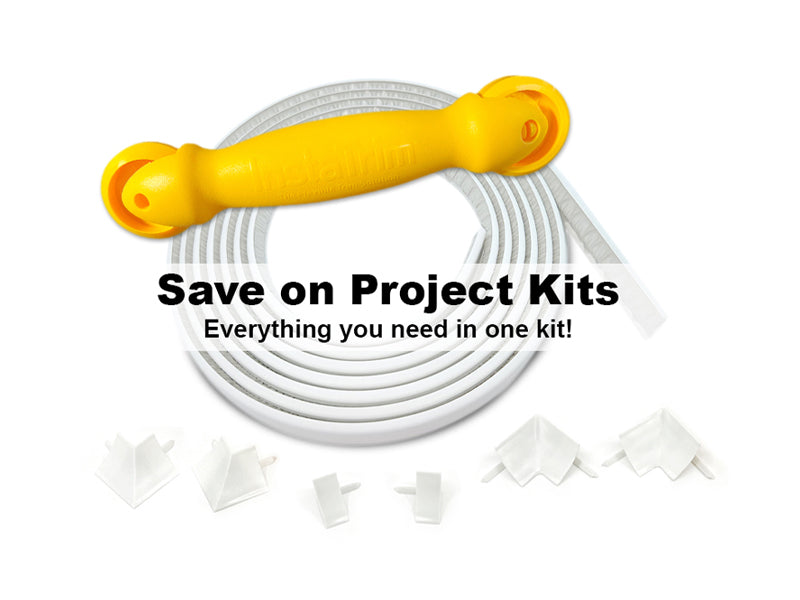
If you’re installing InstaTrim, please know that the self-adhesive PVC strips must also be at room temperature to ensure proper adhesive bonding.
Trimming your home is sticky business, so make sure you prep appropriately!


