

How Do You Install InstaTrim Flexible Trim?
InstaTrim is the easiest way to install do-it-yourself trim that looks great. Here are step-by-step instructions on how to install InstaTrim flexible trim.
Installing InstaTrim Flexible Trim is an easy three step process; its peel, press, perfect and takes just a few minutes of prep. InstaTrim users love how easy the entire DIY installation process is, especially for how high quality it looks afterwards! (Check out some before and after comparisons to see for yourself!)
The how-to process is simple and easy to follow. Here’s how to install InstaTrim’s flexible trim to sinks, doors, tiles, windows, or any other surfaces that need it.
Preparing the Surface
Begin by preparing your surface. InstaTrim adheres to any type of surface: wood, laminated surfaces, solid surfaces, glass, and much more. The only type of surface it will not adhere to is silicone.
In preparation for application, it’s vital to ensure that there is no silicone or silicone residue on the surface you are working with. The presence of silicone will cause the adhesive to not stick , making it impossible for the caulk strips to adhere properly. In fact, silicone is the only thing that will stick to silicone, believe it or not. Be sure to remove all traces of silicone residue before installing any other type of caulk or caulk strip. (Silicone removal instructions are in the box.)
To ensure that the surface is ready for application, use acetone or isopropyl rubbing alcohol and a scrubby brush or sponge on the surface to remove any lingering silicone. It will work like a charm. Let dry completely after the cleaning process, and then you can get to work!
Preparing the Trim
InstaTrim self-adhesive trim strips come in two widths; 1/2 and 3/4 inch, and three lengths; 10 feet, 50 feet, and 100 feet, in a host of colors. Make sure to measure the width of the gap you are going to cover to determine which width you need. The 1/2 wide strips cover a gap up to 1/4 inch wide gap, and the three-quarter inch strips cover a gap up to 3/8 inch wide gap.
To begin, determine the length of the InstaTrim that you will need to start. Use either a measuring tape or hold the strip against the application area and mark the back with a pen. Be sure to add a little bit more than you think to account for stretching during the installation process.
Next, cut the trim with a scissors or sharp razor blade held at a 90 degree angle. Apply light pressure, and the razor will easily cut the strip.
Installing InstaTrim: Peel and Press
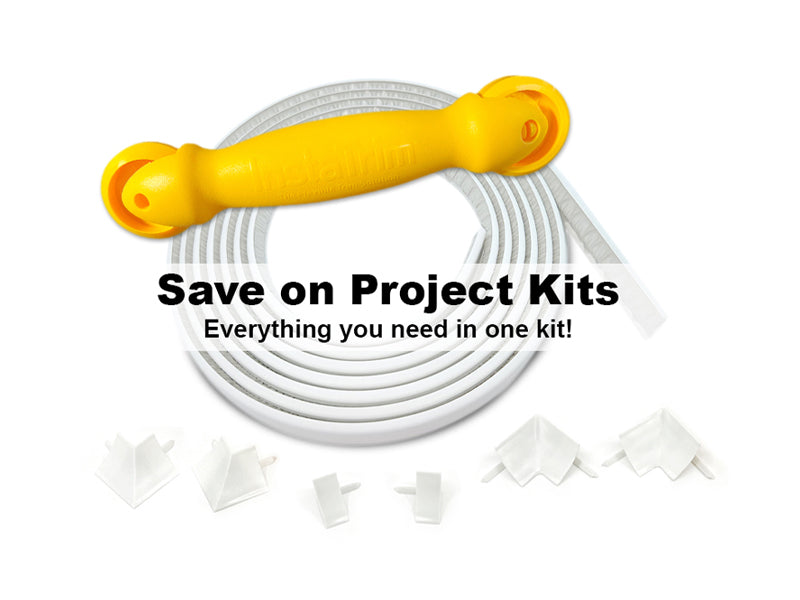
Once you are ready to apply the strip, remove the clear, plastic backing from the adhesive side of the trim. Lay the InstaTrim strip along the gap to be covered and press lightly into place every few inches. You can peel the strip back if it is a little crooked and reposition it as you apply the strip. Once in place, go back over the strip and press firmly along the entire strip with your fingers to ensure that the adhesive attaches adequately to the surface. This can be done with your fingers, but firm pressure is recommended to ensure the sealing process. In some cases, application can be done too lightly, which makes it challenging for the adhesive to engage with the surface. This problem can easily be avoided by pressing the adhesive down hard. NOTE: We will be releasing a new tool that helps with the installation process in mid-2021.Perfect
You are all set! Step back and admire your handy work and the perfect line, every time.
For additional questions regarding the installation process, our website features a number of how-to videos, such as how to splice strips in-line or splice strips at a corner.


