1” Flexible Self-Adhesive Trim
Finish larger gaps, seams, and transitions with a clean, professional look using InstaTrim 1" Flexible Self-Adhesive Trim. Our widest flexible trim yet, the 1-inch profile provides greater coverage for DIY projects where standard 1/2" or 3/4" trim may not be wide enough.
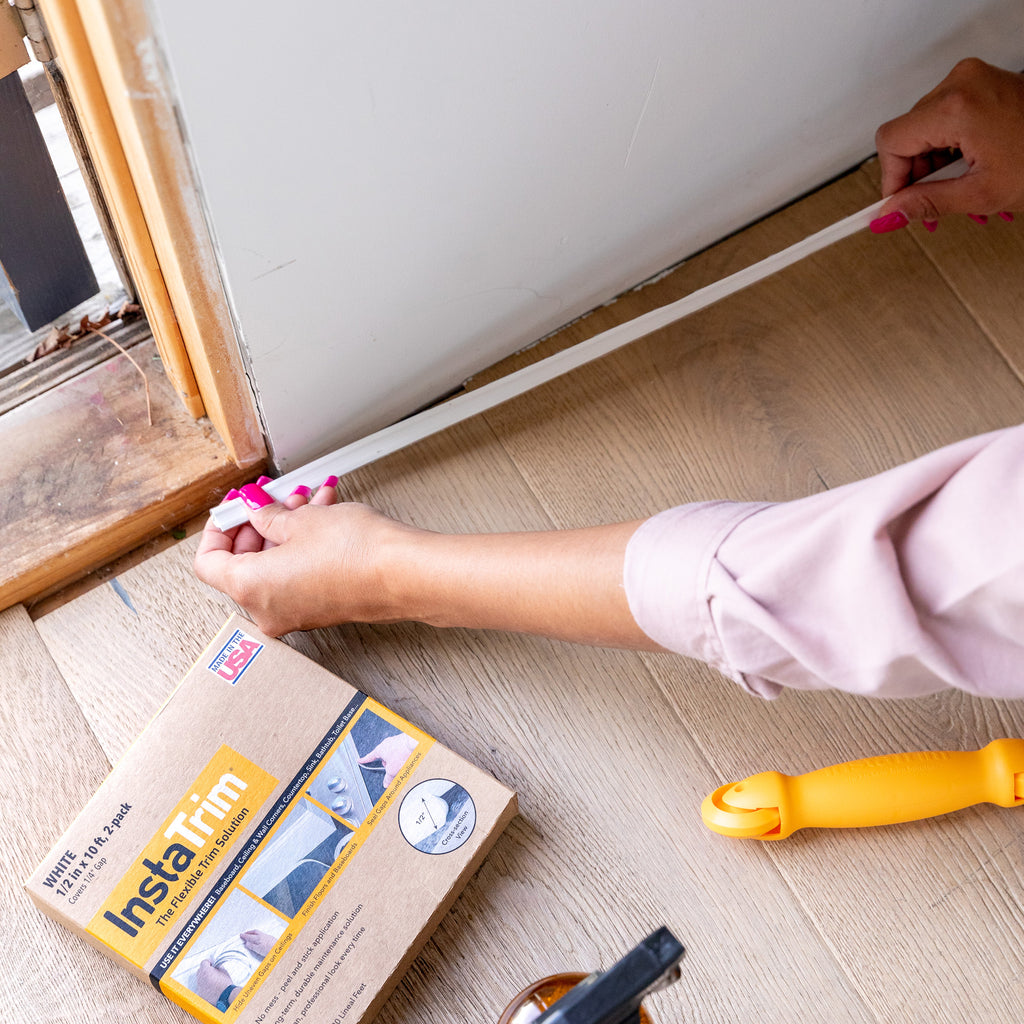
Designed to bend and conform to a variety of surfaces, InstaTrim creates a smooth finished edge around floors, walls, countertops, backsplashes, cabinets, windows, doors, tubs, toilets, wall corners, and more. The built-in adhesive backing eliminates the mess of traditional caulk while making installation quick and easy.
Whether you're covering an unsightly gap, finishing a remodeling project, or creating a cleaner transition between surfaces, InstaTrim offers an easy-to-install alternative to traditional trim and caulking.
WIDER 1" PROFILE FOR MORE COVERAGE
The new 1-inch-wide flexible trim provides additional coverage for larger gaps, uneven edges, seams, and transitions. Its wider profile makes it an excellent solution for projects where 1/2" or 3/4" trim doesn't provide enough coverage.
PREMIUM FLEXIBLE ADHESIVE: InstaTrim features a premium rubber-based putty adhesive designed to remain pliable after installation. This allows the flexible trim to move with the surfaces it's applied to while maintaining a strong, tight seal. For the best adhesion and a smooth, professional finish, we recommend installing InstaTrim with our Applicator Tool.
EASY PEEL-AND-STICK INSTALLATION: Skip the messy caulk gun and complicated trim installation. Simply clean and prepare the surface, peel back the liner, position the trim, and press firmly into place. InstaTrim makes it easy to achieve a finished look without specialized tools or professional installation.
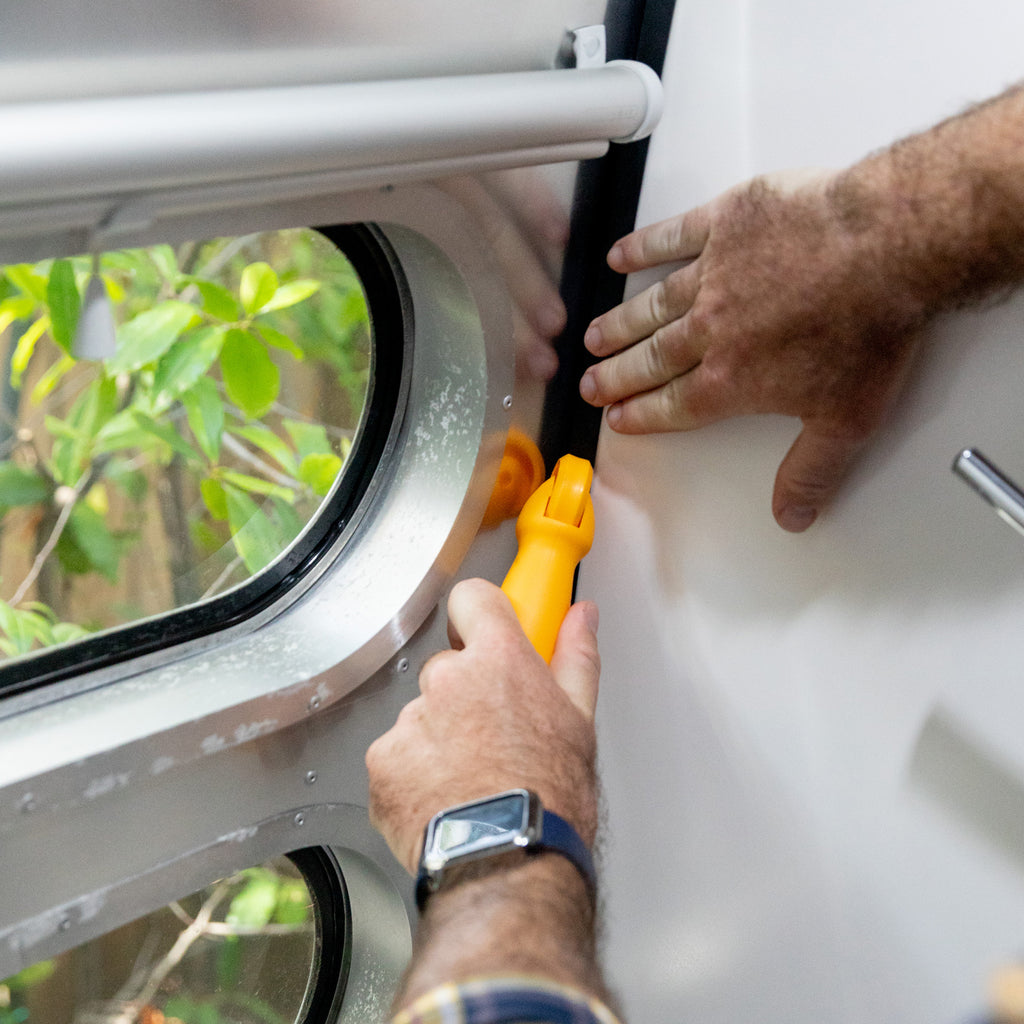
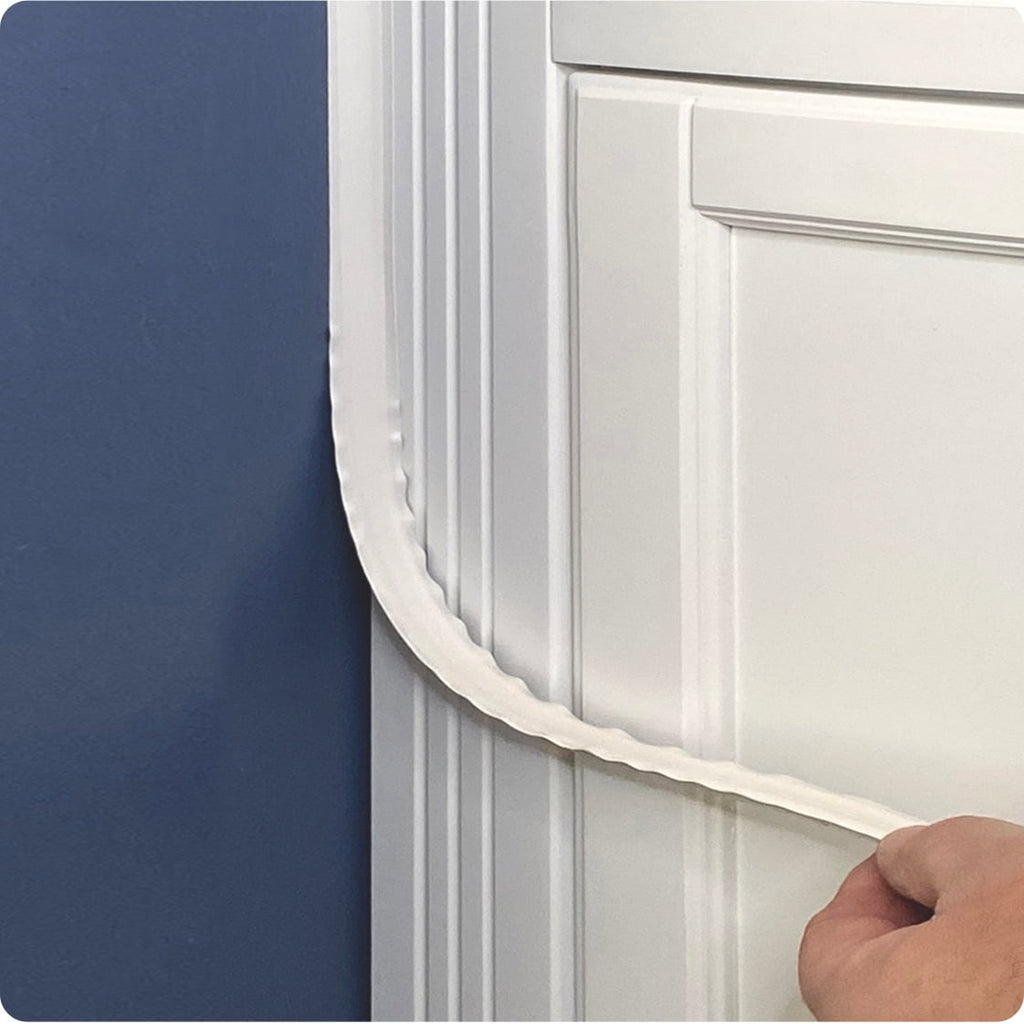
FLEXIBLE & MULTIPURPOSE: The bendable design conforms to corners, curves, edges, and uneven surfaces, making this 1" self-adhesive trim a versatile finishing solution throughout your home, RV, workshop, or DIY project.
Great for:
-
Flooring edges and gaps
-
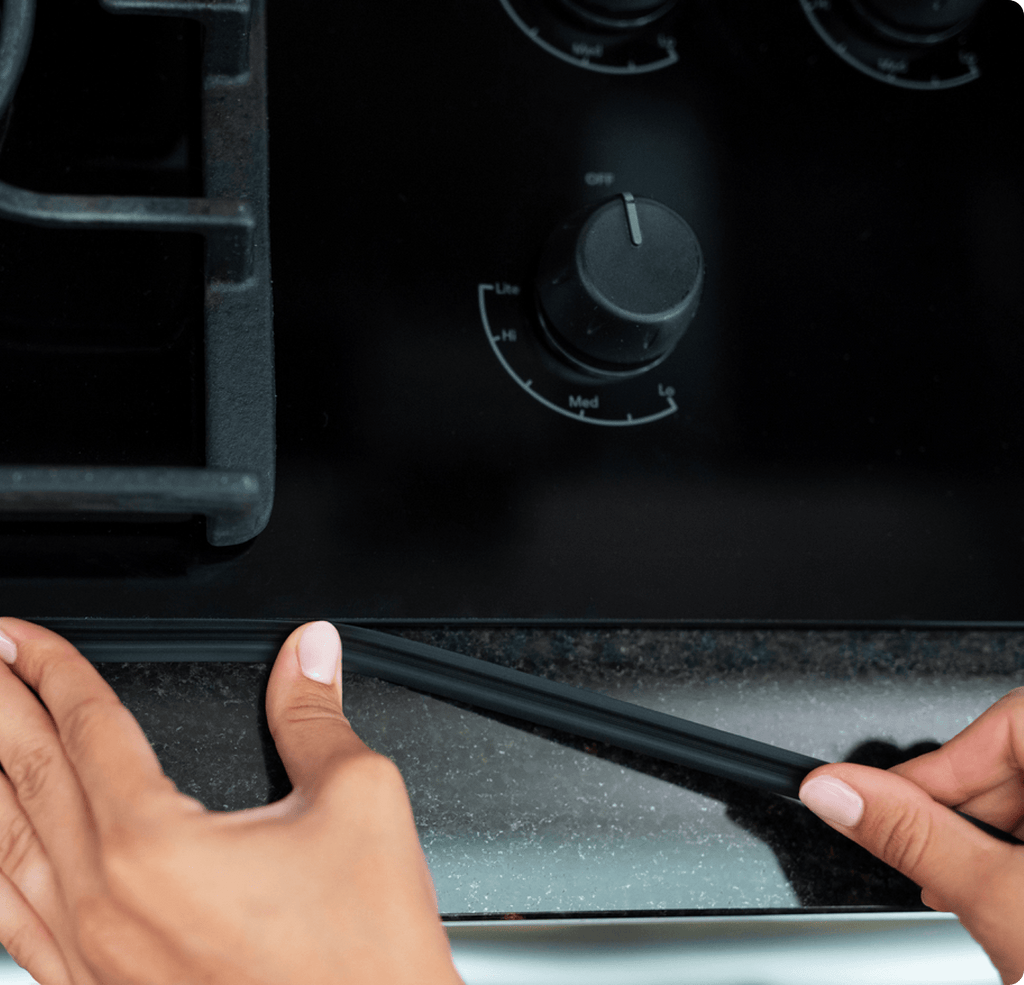
Countertops and backsplashes
-
Cabinets and shelving
-
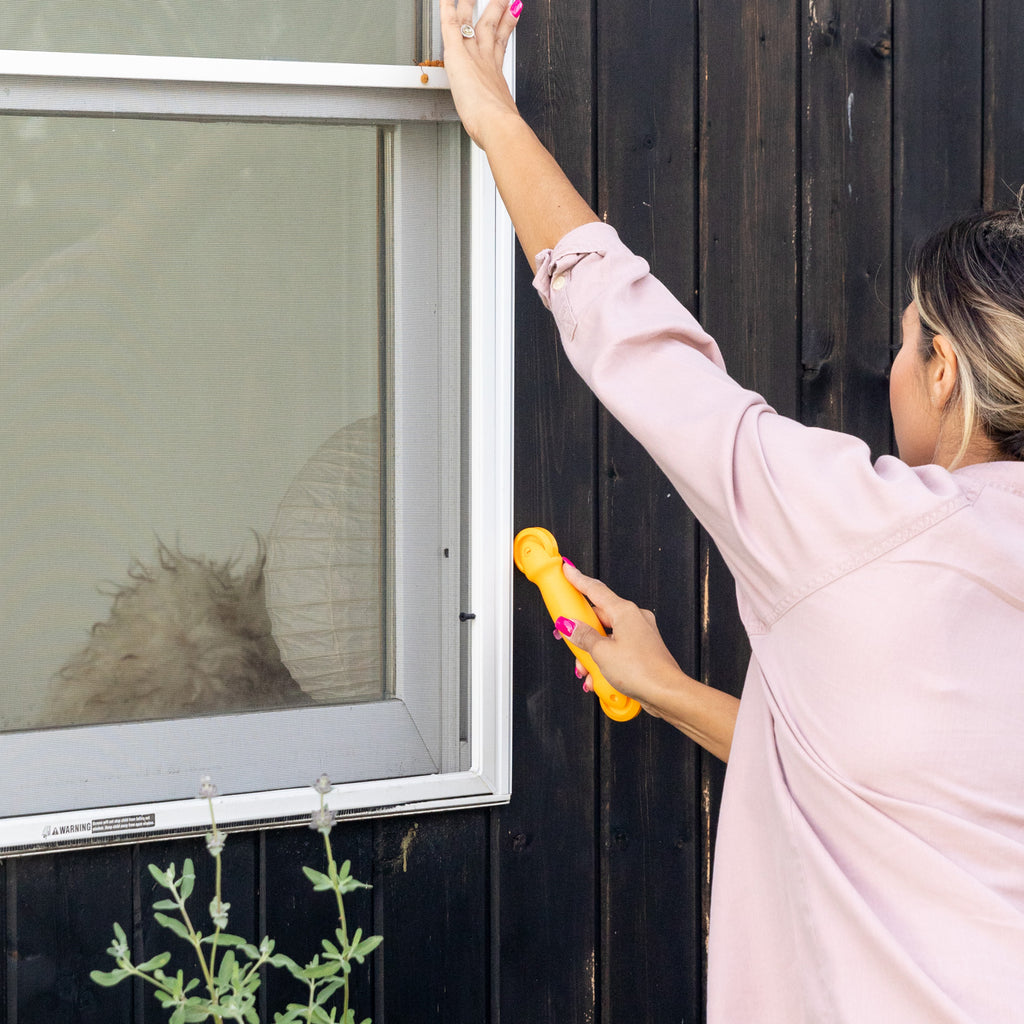
Windows and doors
-
Bathtubs and bathroom fixtures
-
Toilets and flooring transitions
-
Wall corners and edges
-
Baseboards and molding
-
RV and camper interiors
-
Remodeling and renovation projects
WATER-RESISTANT & EASY TO CLEAN: The smooth vinyl surface is water-resistant and easy to wipe clean, making InstaTrim a practical choice for kitchens, bathrooms, laundry rooms, and other areas where a clean finished edge is important.
HELPS SEAL GAPS & EDGE
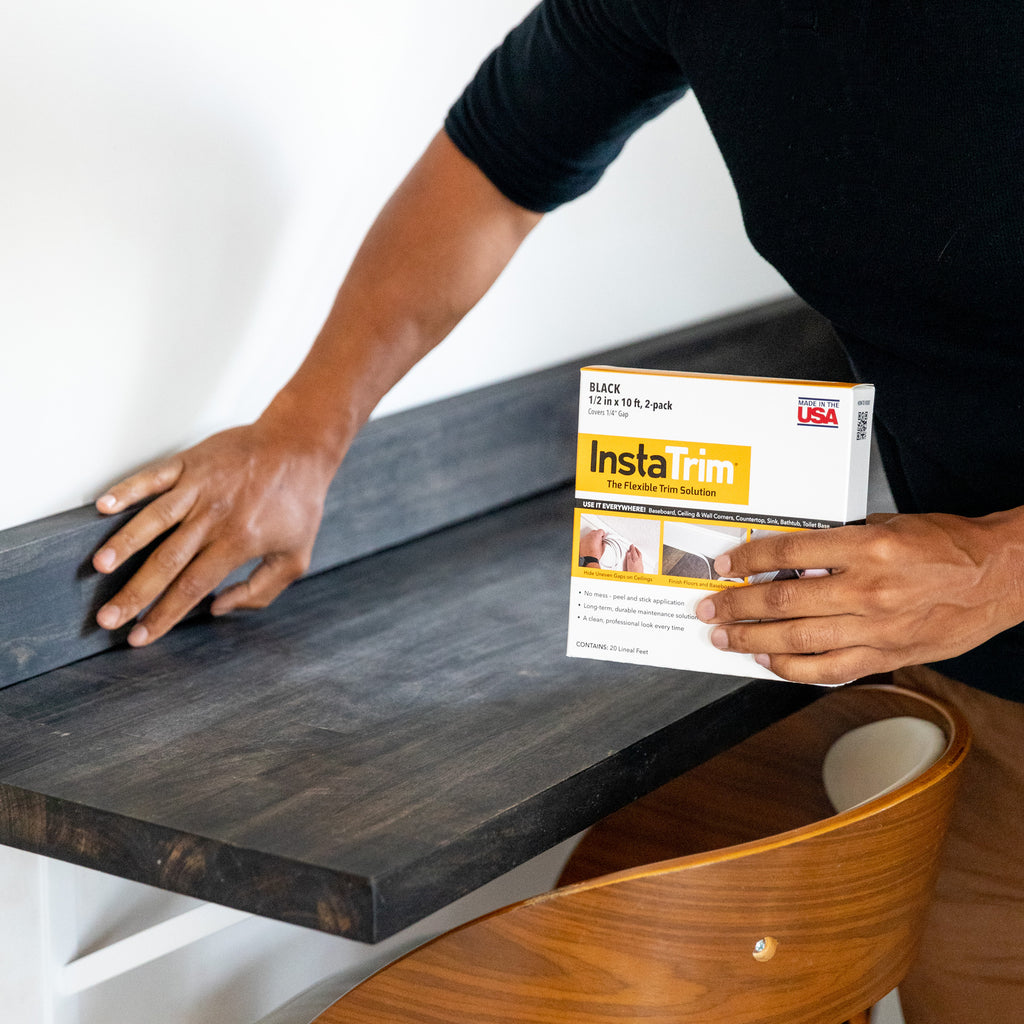
MADE IN THE USA: InstaTrim is proudly made in the USA by a family-owned business committed to producing innovative, easy-to-use home improvement products. From quick DIY fixes to complete renovations, InstaTrim helps you achieve professional-looking results without the hassle of traditional trim installation.
Go wider. Cover more. Finish clean with InstaTrim 1" Flexible Self-Adhesive Trim.
APPLICATION
Our flexible trim strips feature a pressure sensitive adhesive. When applied with firm, constant pressure, InstaTrim flexible trim will last for years without requiring replacement. For the best adhesion and professional look, we recommend the InstaTrim Applicator Tool and the InstaTrim Corner & End Caps
ADHESIVE
Rubber-based butyl, pressure sensitive adhesive, contains no toxic chemicals or fumes. Conforms to ASTM D4236 (Info Tox International, Inc.)
PATENTED DESIGN
InstaTrim’s flexible wings create an additional level of protection against dust, dirt, moisture and air movement. Our flexible wings apply pressure to the application surface creating a second barrier of protection.
CEILING APPLICATIONS
We recommend using 1/2 inch wide strips.
SILICONE REMOVAL
If you are applying InstaTrim to an area that has old silicone caulk, you will need to complete the Silicone Removal Process.
Using a sharp blade, cut away and remove all existing silicone caulk.
Use a scrubby sponge or stiff bristle brush to help remove stubborn silicone residue with acetone or isopropyl alcohol.
Thoroughly wipe surface with acetone* to remove any remaining residue or oils left on the surface. Let surface dry completely.
*Only use Acetone in well-ventilated areas and avoid any exposure to ignition sources such as a pilot light, candle or cigarette.
INSTALLATION
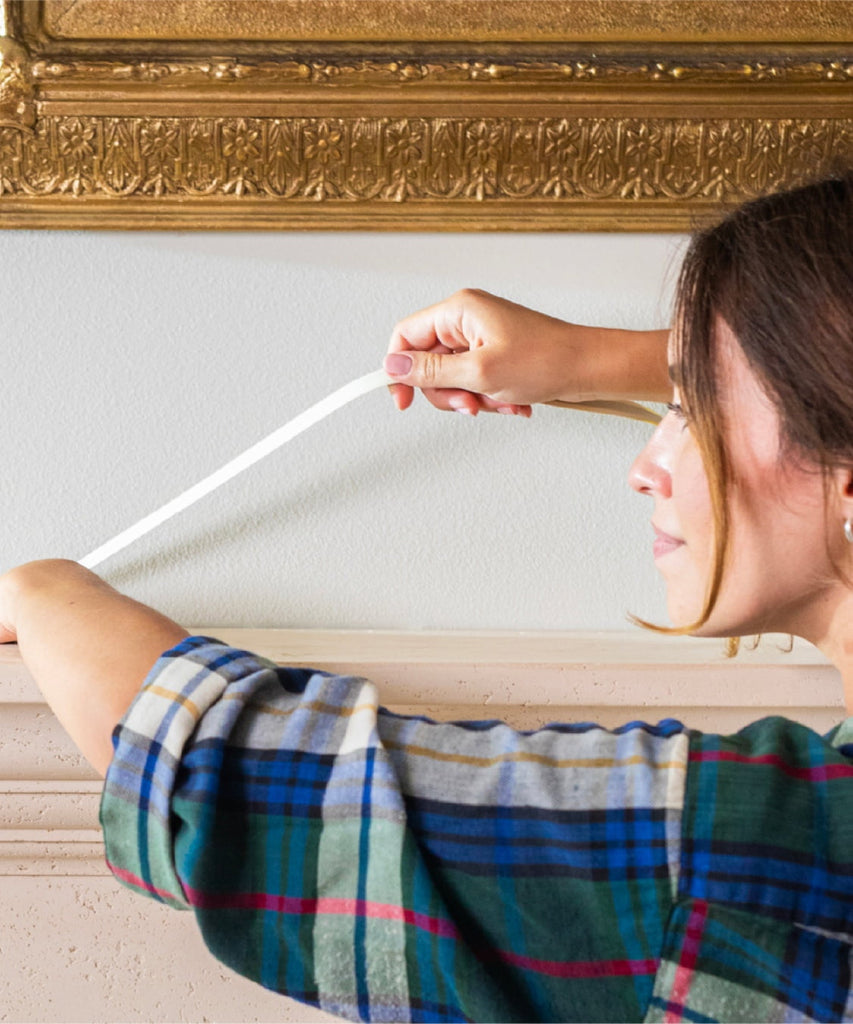
Position the end of the strip at your starting point and lay the strip where it will be installed to determine where to cut the finish end. Be sure to add ¼ inch to the end to ensure a tight fit. Mark the strip and cut with a razor blade or scissors.
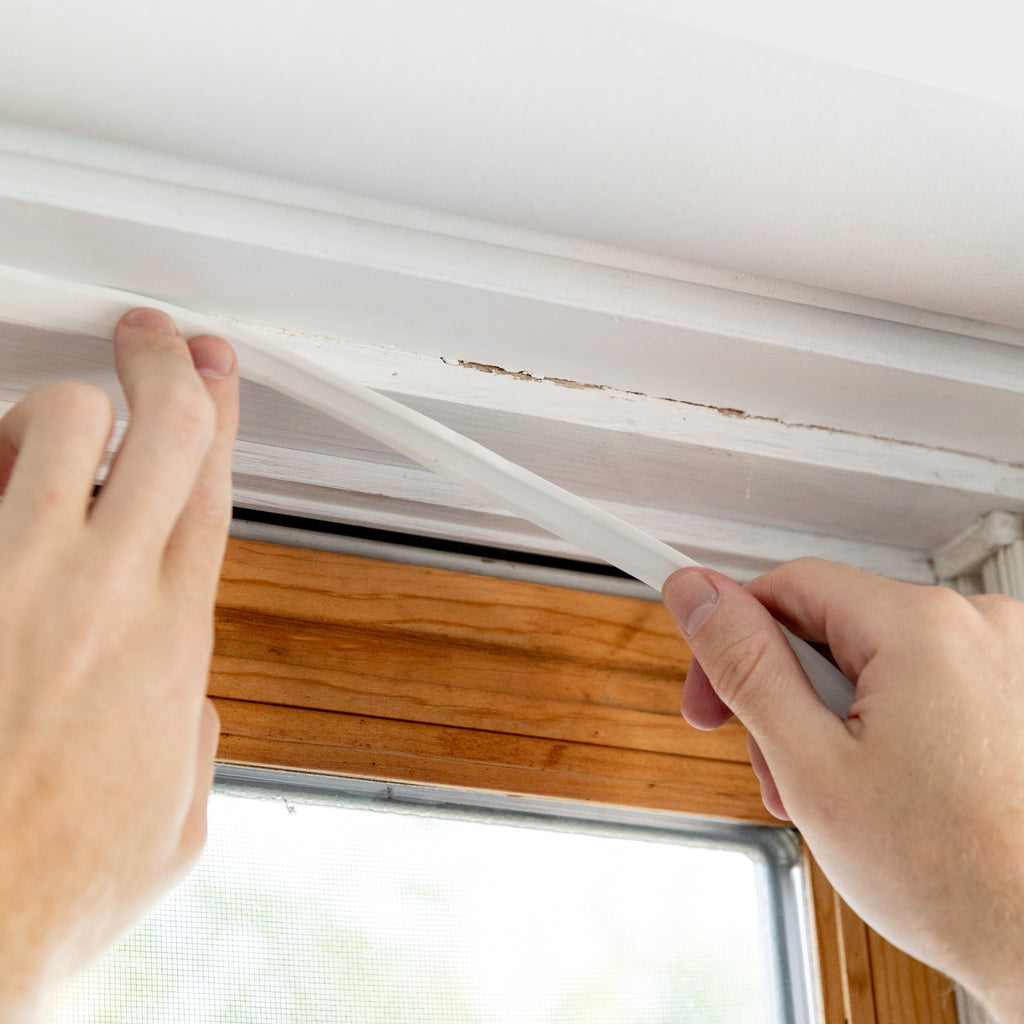
On the adhesive side of the trim, peel back the liner to expose the adhesive. Hold the end of the strip with the adhesive side facing the application corner. Push the first end of the strip onto the corner and apply the first 2-3 feet by pressing it down every 4-6 inches with your fingers. Repeat with the next 2-3 feet until you reach the end. If the strip is a little crooked, peel the strip back and reset it before the next step.
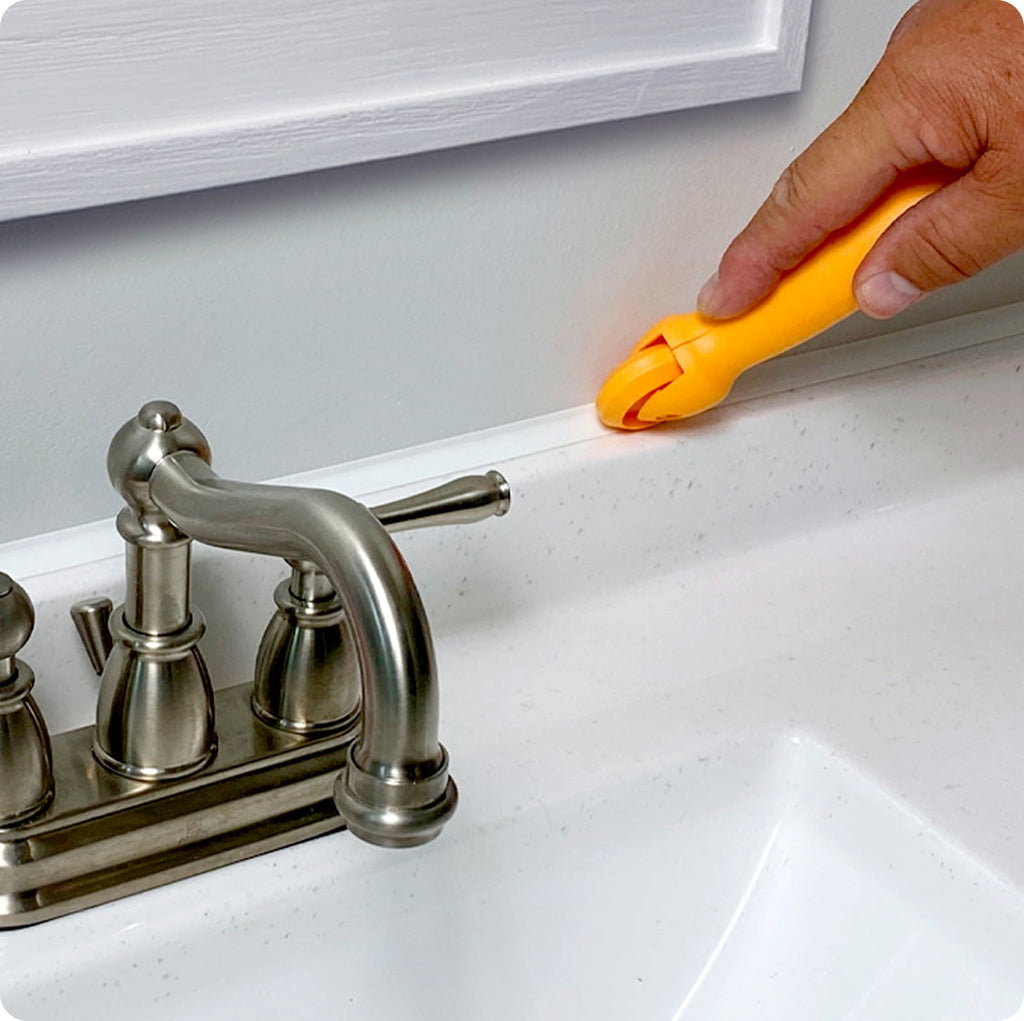
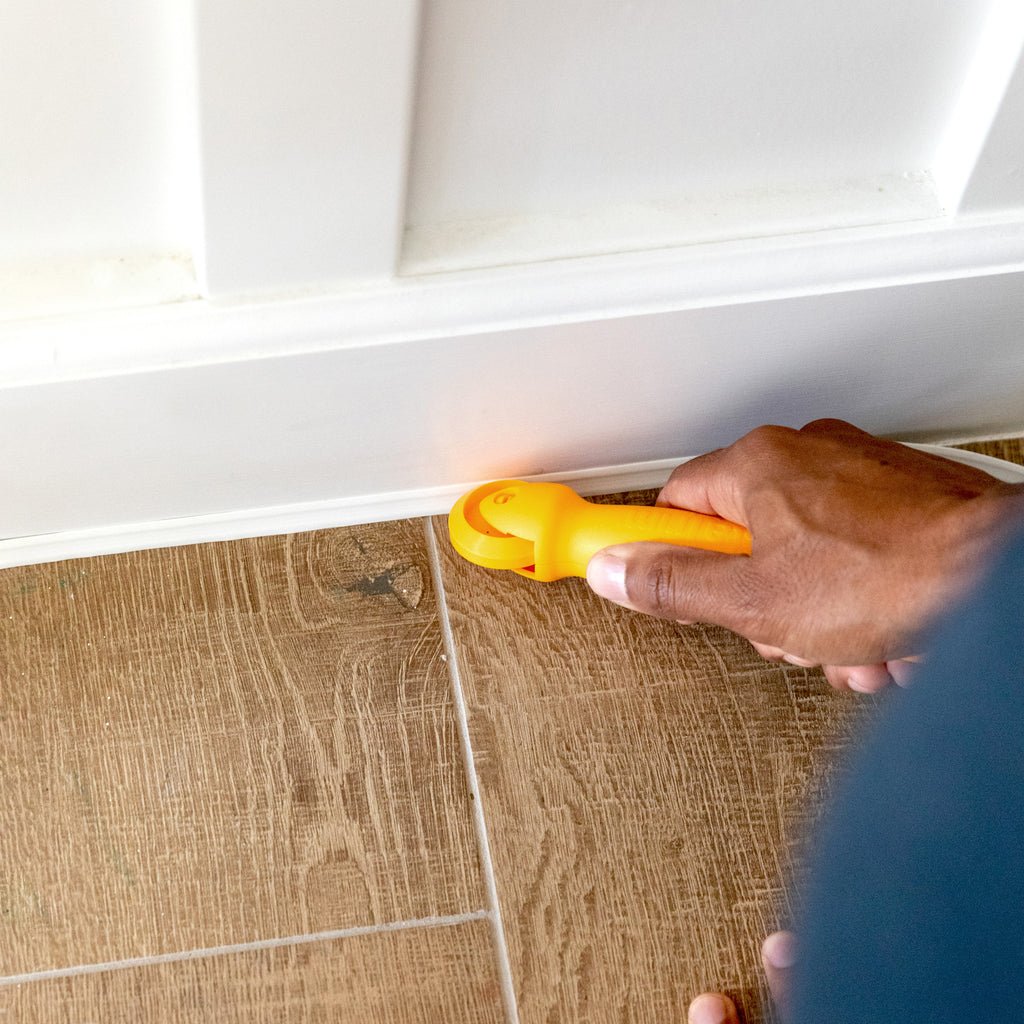
Next, firmly press the strip into the corner along the entire length, making sure you are applying enough pressure to allow the adhesive to bond with your application surface. We recommend using the InstaTrim Applicator Tool which helps to provide even constant pressure for the adhesive and also makes it easier on your fingers.
No drying time is needed. If you wish you may paint immediately after installing.
NOTE: Do not stretch the InstaTrim strip as you install it, this may cause the end to pull back once the trim has been set into place.
SURFACE PREPARATION –
To ensure an effective installation for InstaTrim’s adhesive to properly bond with the surface it is very important that the consumer follow all instructions for cleaning the application surface.
SILICONE –
InstaTrim will not adhere to old silicone! All silicone caulk, residue and oils MUST be 100% removed prior to installing InstaTrim strips. See “Silicone Removal Process” for details on how to properly remove all silicone. NOTE: some tile, granite and quartz products come with a silicone sealer to prevent moisture and stains from absorbing into the surface.
WAX AND OILS -
Surface must be free from wax and oils. Do not use surface cleaners that contain waxes and oils, such as furniture polish, mineral spirits and surface restore products.
Application surface must be clean, dry and free of dust and dirt.
HOW TO APPLY
1 Clean surface and let dry.
2 Peel back the liner.
3 Press firmly into the gap.
4 Trim the finished edge, and voila!
USE INSTATRIM ANYWHERE
InstaTrim works with all surfaces that do not have silicone or silicone residue on them, like: Granite, Laminate, Wood, Glass, Metal, and more!