


If you’ve ever tackled a home improvement project, you know that caulking can be a real headache—it’s messy, it’s fickle, and it definitely isn’t a simple task for beginners. So, when I stumbled upon InstaTrim, a game-changing self-adhesive caulk substitute, I needed to test it out.

Why I Used InstaTrim Instead of Caulk
My staircase renovation was almost complete; however, there was one last detail bugging me—the gaps where the treads meet the risers and stringers on three sides. Normally, I would have used caulk, but let’s be honest, I didn’t feel like taping every single step. Fortunately, I had heard about InstaTrim (flexible caulk strips), so I reached out to the company to see if they’d be interested in working together—and they sent me some to try!


What Makes InstaTrim Different?
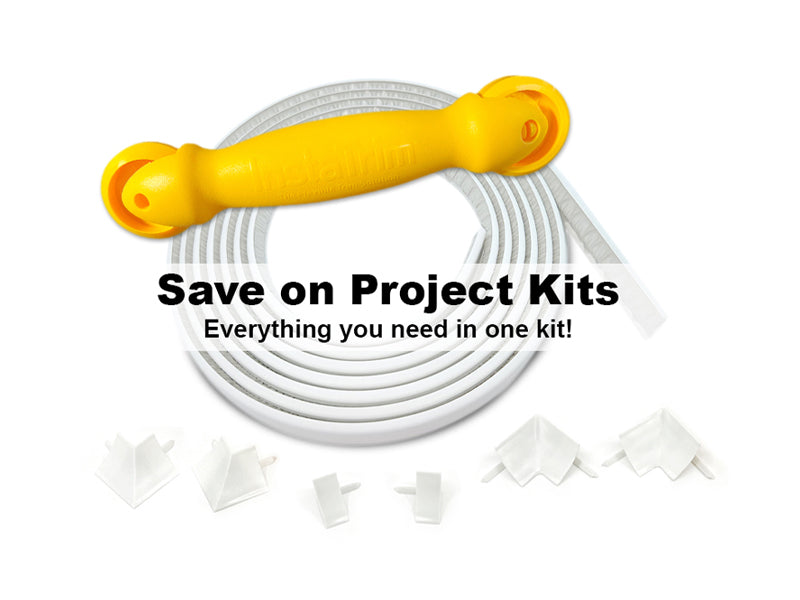
InstaTrim is a peel and stick trim that molds to surfaces using a putty adhesive, creating a seamless and tight seal. Unlike traditional caulk, there’s no mess, no odor, and no waiting around for it to dry. Plus, it’s completely removable, making it a great option for renters. Here’s what I loved about it:
- Mess-Free Application – No dripping, no smearing, and no cleanup required.
- Beginner-Friendly – If you can peel a sticker, you can apply InstaTrim.
- Flexible & Durable – It bends around corners and stays put.
- Made in the USA – High-quality and family-owned, which is always a plus.
- Non-Toxic & Safe – Perfect for any area of the home, including kitchens and bathrooms.
INSTATRIM: Caulk Alternative
What You’ll Need
- Cutting board or a piece of scrap wood
- Razor blade or Scissors
- Soft lint-free cloth
- Acetone
- Soft bristle brush or scrub sponge
- Caulk removal tool (optional)
- Hair dryer (optional)
- Permanent glue (for splicing two pieces together)
- Applicator Tool
- Instatrim
How To Install Instatrim
The process was ridiculously simple, and here’s what I did:
Time needed: 3 hours
How I Applied InstaTrim to My Stairs
-
Unroll The Spool and Let It Rest

-
Prep the Surface
Next, I made sure the stairs were clean and dry. Any dust or leftover debris can impact adhesion, so I wiped everything down thoroughly with Acetone. (FYI the instructions specifically say not to use cleaners with oil, wax or silicone)

-
Applying InstaTrim
I started by peeling back a small piece of the liner and applied it flush with the inside corner of the staircase. I used my hands at first to gently press the trim into place. I moved along peeling back the liner slowly. When I neared the end I used a screwdriver to make an indent on on the trim to show where to cut. Then I cut about 1/8″ inch past the indent.

-
Ensure a Tight Seal
I pressed the applicator tool firmly so the adhesive would spread and grab onto the entire inside corner. I used a flat head screwdriver to press the corners in firmly.


Tips for Installing Insta-Trim:
– Make sure it’s above 68 degrees when you’re working on this.
– Skip the cleaners that have oil, wax, or silicone in them.
– Be careful not to stretch the trim while applying it
– A hairdryer can help warm up the strip, making it easier to bend around curves.
– Don’t put it over any old caulk.
– Just like with traditional molding, you can join two pieces at a 45-degree angle.
Finished Look – Before & After
I was honestly shocked at how professional the results looked. The gaps disappeared, and the edges of my staircase now have a clean, polished finish without the headache of caulk. And the best part? No waiting for anything to dry!


Where to Buy Instatrim
Product Options
Thickness:
- 1/2″ trim – Covers gaps up to 1/8″ wide
- 3/4″ trim – Covers gaps up to 3/8″ wide
Length Options:
- Available in 10ft and 50ft rolls, perfect for small touch-ups or larger projects.
Color Choices: Ivory, Gray, Dark Brown, Black, White, Bronze
Where Can You Use InstaTrim?

InstaTrim sticks to a variety of surfaces, making it ideal for:
- Kitchens: Seal gaps around backsplashes, countertops, and cabinets.
- Bathrooms: Create a waterproof seal around sinks, tubs, and showers.
- Floors & Baseboards: Cover expansion gaps between floors and walls.
- Windows & Doors: Prevent drafts and dust buildup.
*Waterproof & Stain-Resistant, works on Painted Surfaces and Can Be Painted!
FAQs About InstaTrim Peel and Stick Trim
Yes! InstaTrim is renter-friendly and can be removed without damaging surfaces. Just peel it off carefully, and any remaining adhesive can be cleaned with a mild remover.
According to the product description, it is flexible enough to conform to any edge or surface.It works well on uneven surfaces, but you might have an issue with adhesion on textured surfaces.
No, InstaTrim is not designed for ceilings or carpets. It’s best used on solid, smooth surfaces where a tight seal is needed.
It can be installed outdoors. They recommend installing the trim strips when the temperature is 65°F to 70°F for best results.
Yes, you can paint it. The company recommends latex-based paints for the best results.
InstaTrim: Peel and Stick Caulk and Trim
This turned out to be the perfect solution for my staircase, and I’ll definitely be using it in other projects around my home. If you want a simple, mess-free alternative to caulk that still looks professional, this is it!
The beautifully renovated staircase featuring wooden treads and a seamless integration with white risers, showcasing the clean finish achieved without traditional caulk.
You can check out InstaTrim here and see for yourself how easy it is to upgrade your home without the hassle of caulking.
As On Maple Lane describes, “InstaTrim is a flexible trim solution that sticks to most surfaces and requires no caulking or mess” (source).


