
How to Splice and Install InstaTrim
InstaTrim is known for just how easy it is to install. Even if homeowners need to join two or more lengths of it together, or need to install it in the corners of a home, InstaTrim is your perfect universal trim solution.
Splicing and Installing Flexible Trim
When you purchase InstaTrim, you’re choosing the most versatile flexible, self-adhesive trim strip on the market. Homeowners and contractors love how easy it is to install, with no mess or waste.
Everyone appreciates the fact that lengths of the universal trim solution can be spliced together with a technique that ensures a great finish in a line and in corners.
6 easy steps for splicing InstaTrim in a line
Greg Amundson, the inventor of InstaTrim walks you through the best techniques to splice InstaTrim for successful installation.- Measure, cut and lay your first piece of InstaTrim
- Pull back the end of the piece that is now in place
- Place a piece of scrap tile under the trim strip
- Put a sharp razor blade at a 45° angle on the strip and gently push to cut
- Measure your next piece of InstaTrim and flip the end over, so the adhesive is facing up and push to cut at a 45° angle so the two ends will overlap
- Optional: place a drop of Super Glue on the end of the one of the strips where they will overlap to ensure the seam will last, and press to connect the two pieces together
The result is a perfect line that looks great!
Watch the inventor of InstaTrim splice and install his product in a perfect line.
7 easy steps for splicing InstaTrim in corners
One of our most requested installation guidance is for corner installs. Once you know how, it takes no time and looks beautiful!
You start by measuring, cutting and laying your first piece of InstaTrim, pressing it tightly into the corner with the end butted against the perpendicular wall. Once this is done, follow the following steps:
- Measure and cut the length of the second strip for the perpendicular wall
- Place a piece of scrap tile under the trim strip so you don’t scratch the surface
- Turn the strip over so the adhesive side is up
- Place a sharp razor blade at a 45° angle on the end of the strip, tilt the razor blade back at a 45° angle and push to cut, making a compound cut
- Connect and install this piece into the corner by overlapping the end so it covers the existing piece
- Optional: place a drop of Super Glue on the end of the cut strip to ensure the seam will last and press to connect the two pieces together
- Press the rest of the InstaTrim strip into place
The result is an angled corner that fits together and looks great!
Watch the inventor of InstaTrim splice and install his product, creating a perfect corner.
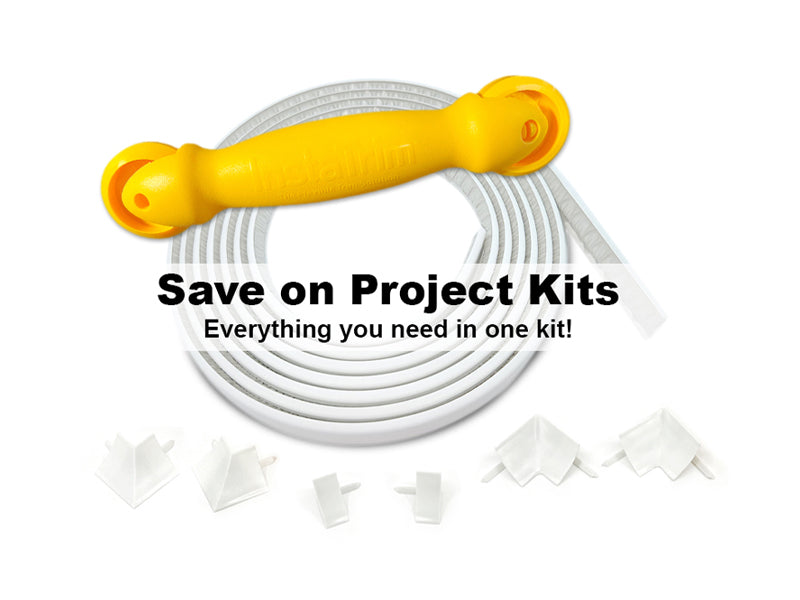
Corner and End Caps
Now it's even easier to corner install 3/4-inch InstaTrim. We have also created end caps to finish your do-it-yourself trim projects with a perfectly polished look! A new Corner & End Caps kit includes inner corner, outer corner, and end cap pieces and each one can be painted to match any color you want, or you can keep them white if using white 3/4-inch InstaTrim!


